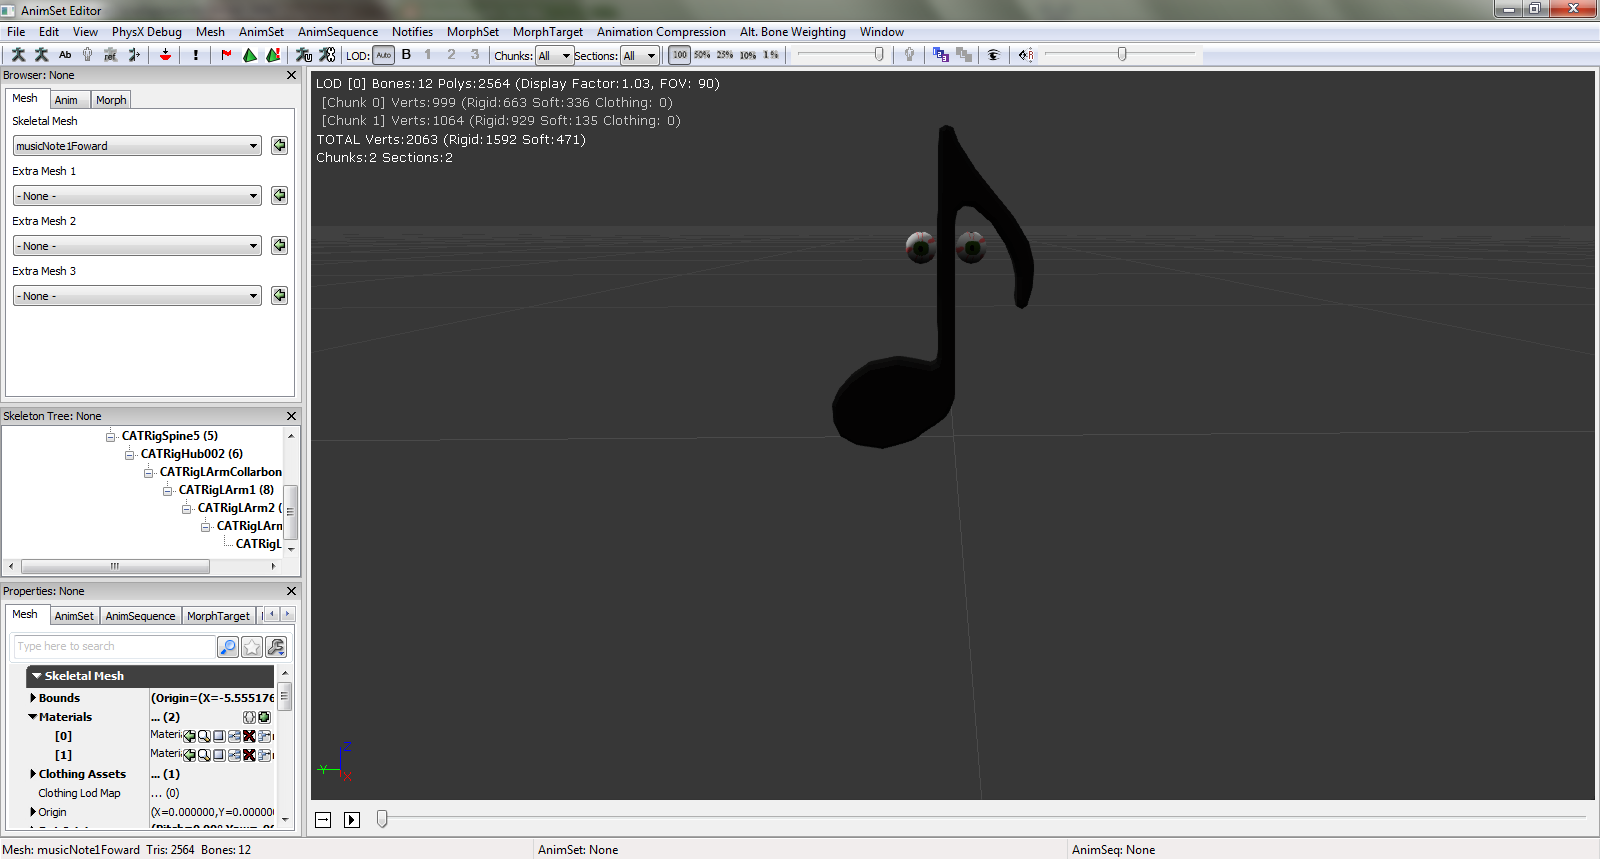
After modeling the music note, I begin rigging it; starting off with a CAT Parent found in create>helpers>CAT Objects.
The CAT Parent can be seen as something that creates a starting bone for your model, being the Pelvis. With the Pelvis, you can create even more bones, such as legs, arms, or even a spine. Creating bones for your models allows animating of the model to be much more easy proficient because you don't have to grab the models by polygons, vertices or edges which could potentially create a lot of issues when animating such as stretching of the model and textures.
One of the things I learn from my own experience with using 3ds Max is that you can actually place the CAT Parent any where you want your model to begin animating at. For this model, I decided to place the CAT parent towards the beginning of the body because thats the part I want my model to animate at. After creating the CAT Parent I began creating the bones for the music note by starting off with Create Pelvis. Once creating the Pelvis I decided to add a spine because essentially the bones were taking place in the music notes body. After adding the spine I decided to add a left arm to my model to be able to animate the curve that was sticking out of the body.
Upon creating the base bones for my model a begun scaling the bones to get to almost exactly fit my model.
Doing so completed the rigging portion for my music note. When it comes to rigging a character for a game or even for an animation, the rigging portion is just for establishing base bones for that model that can be use for manipulating when animating. However when rigging your model, the bones you created aren't actually attach to the model. So the question is, how do we have the model became manipulated from the bones? Well thats where skinning comes in! Skinning your model is two things, attaching the bones to the model, and modifying weights to prevent any stretching in the textures. After completing the rigging of my model I begun skinning it by clicking the music note going to modify>Skin in the modify list. Once doing that you want to attach the bones to the model by going to the bones section and hitting "Add Bones".
Now once doing that I immediately stop with the skinning.....for the moment and went to animating because you can't really determine any stretching in your model until you see some sort of animation going about. Considering this model was an AI I begin animating the movements for it; starting with the left movement. Usually you can just click which ever bone you want to move for animating and go to the motion tab to create an animation layer and adjustment layer, for this instant I moved or rotated the second HUB which was the top most bone of the model. When it comes to animating things, what I like to do is hit the Auto key when in the adjustment layer and adjusting the bone to my liking. The great thing about the Auto key is that it keys whatever movements made in the animation timeline which I find much faster versus Set key. Considering I'm creating the movements for my music note in all directions I begun animating with the left movement first. For this model animating movements were very easy. All I had to do really was rotate the HUB0002 left in the y axis in a given frame in the animation timeline and rotate it right in the last frame of the time line.
Doing so completed a portion of my animations for the music note model, considering I still needed the right movement, back movement and front movement. Once completing one of the animations for the model I went back to skinning. Upon watching the model animate I actually notice the eyes stretching which is pretty strange because before rigging, skinning, and animating this model, I never knew the model could stretch when animating. I actually thought only the textures were possible in stretching. After noticing this I begun adjusting the weights on the bones, making sure while the animation was playing, no stretching were occurring.
With this you begin to see how it is to rig, skin and animate a Non playable character for a game and different kinds of techniques you can use to actually do so. For me I found it pretty fun to do and a way to gain more experience when it comes to creating Non playable characters for a game.


No comments:
Post a Comment